Written By Janne Lee
How to Make a Herbarium for Natural Dye and Botanical Printing Plants
If you’re a natural dyer, botanical printer, or nature-inspired artist, creating a herbarium is one of the most meaningful tools you can have in your studio. It’s not just a collection of pressed plants—it’s a personal archive, a seasonal record, and a creative companion that helps you stay grounded in your process.
I use my herbarium to record plants I grow, forage, and work with throughout the year. Over time, it’s become an invaluable studio reference for dye and botanical print results.
🌿 Why Keep a Herbarium?
A herbarium allows you to:
🌿 Track which plants produce the best colors or impressions
🌿 Understand seasonal shifts in plant behavior
🌿 Remember which plants you used, where they came from, and how they responded on fabric
🌿 Stay inspired by nature’s subtle beauty in all seasons
Whether it’s a backyard bloom or a leaf gathered on a walk, each addition tells a story.
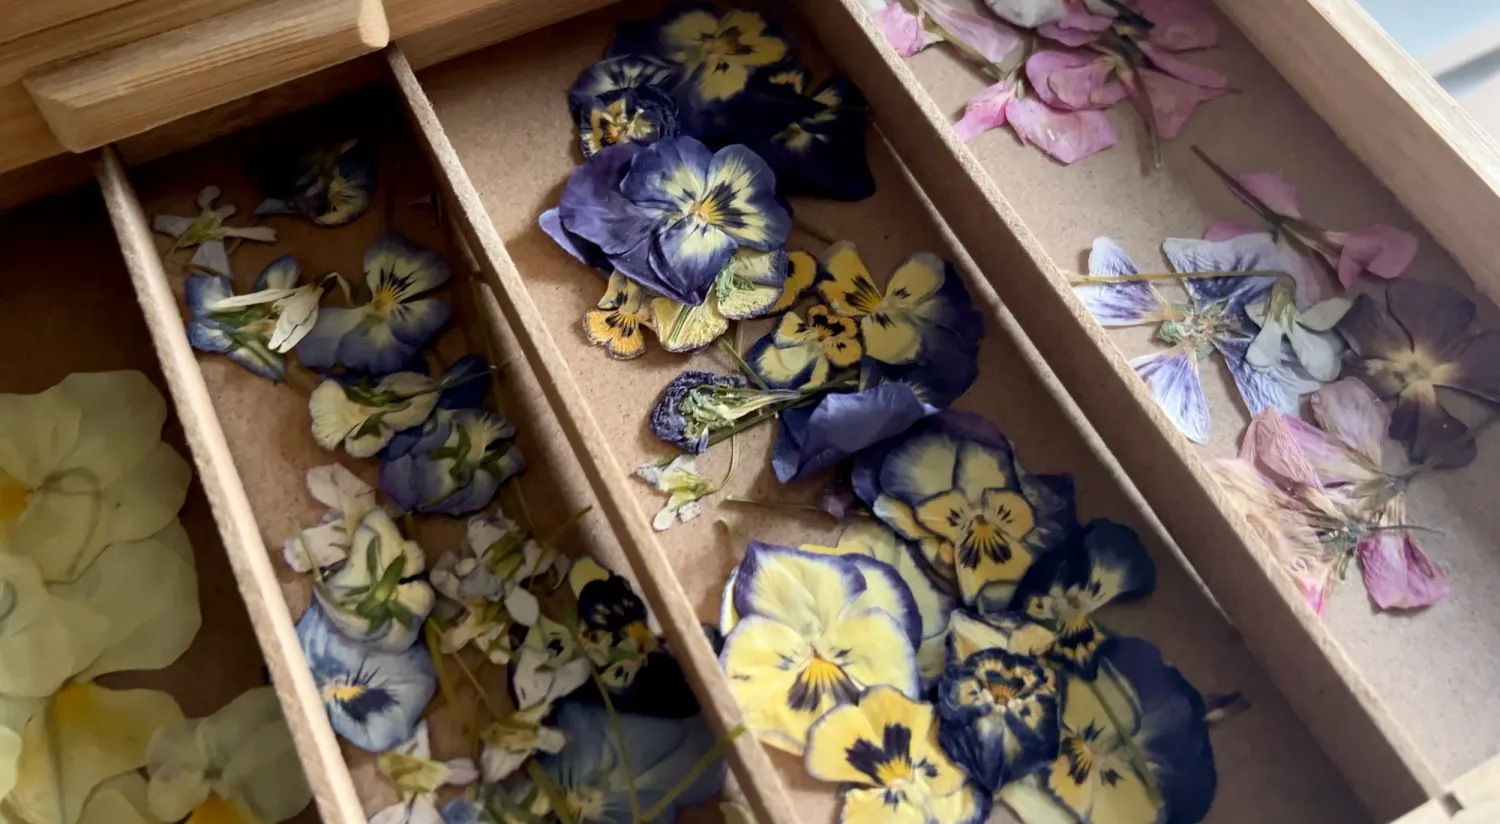
Pansies
Are an easy thin flower for instant flower pressing success
✨ How to Press Flowers and Leaves
To preserve plants for your herbarium, it’s important to dry them thoroughly and press them with care:
1. Choose Fresh Specimens: Harvest flowers or leaves that are dry, clean, and free of moisture (early morning dew can lead to mold if not dried first).
2. Layer the Paper: Place your plant material between two sheets of absorbent paper—blotting paper, parchment, or even coffee filters work well.
3. Add Pressure: Sandwich your paper layers inside a heavy book or place them in a flower press.
4. Let Time Do the Work: Leave them under consistent pressure for about 2–3 weeks, checking occasionally to ensure no mold has formed. It helps to change papers each week.
Patience pays off—when fully dry, your plants will be flat, preserved, and ready for mounting.
Non-dominent Hand Drawing
Are an easy thin flower for instant flower pressing success
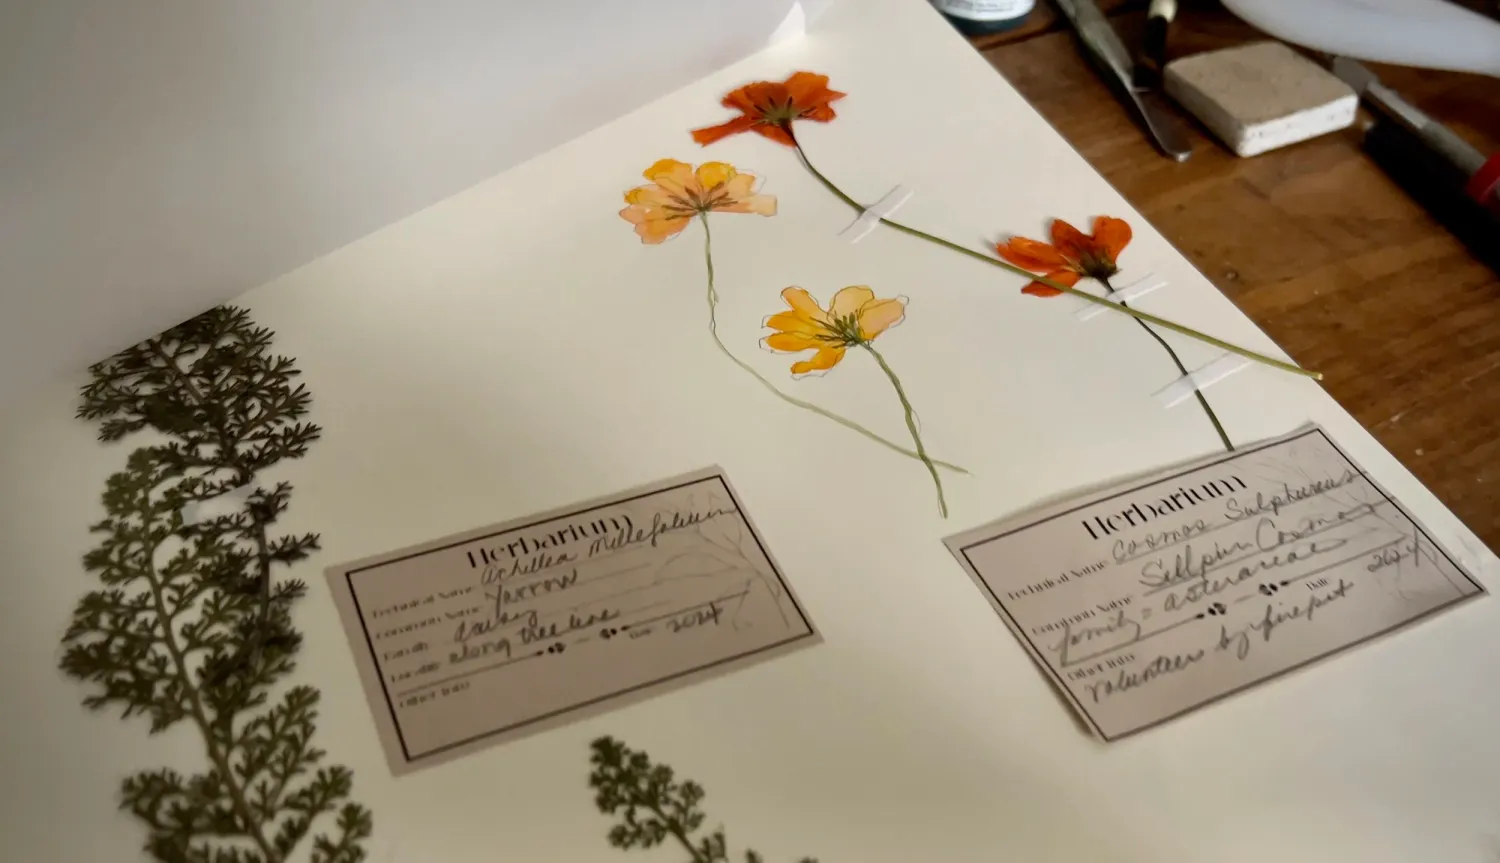
📔 My Process for Creating Each Herbarium Page
Once my plants are pressed, I arrange them inside a bound herbarium notebook. (I used Moleskins A3 watercolor notebook) I label each entry with:
Botanical name (if known)
Common name
Date and location of collection
Notes about its dye or print performance
To attach the specimens, I use acid-free linen tape—it's archival, secure, and won’t damage the plant over time. This keeps the natural pieces intact while still allowing the page to breathe.
🌼 A Living Tool for Artists and Gardeners
This herbarium isn’t just pretty—it’s practical. I refer to it often when choosing plants for eco-printing or dyeing fabric. Over the years, it’s become a seasonal time capsule, filled with the essence of my outdoor studio.
If you’re curious to begin your own, I walk through the entire process step-by-step in my latest YouTube video. From pressing to labeling and arranging pages, it’s a gentle and grounding practice I hope you’ll enjoy
Keeping a herbarium helps you slow down, observe, and deepen your creative practice. I hope you enjoy watching my video on the process and are inspired to begin your own.
🌿 Get on the Studio Insider list to receive my nature-based art insights: https://bit.ly/StudioIn
How to Make a Herbarium for Natural Dye and Botanical Printing Plants
Janne Lee
Fine Artist
Copyright © 2022 Janné Lee llc
To intertwine the beauty of nature with artistic expression, forging a path where botanical artistry meets innovation. Through
exploration, creation, and the fusion of natural elements, my mission is to inspire a profound connection between art and the
environment. My commitment lies in celebrating the harmony between artistic vision and the natural world where artistry and
nature converge.